
A dependable pour over coffee ratio is 1 gram of coffee for every 16 grams of water. For one generous cup, use 15 grams of coffee and 240 grams of water. It is a balanced starting point that makes the next decision simple: taste the cup, then change one small thing at a time.
Pour over is precise, but it does not need to be fussy. A scale, timer, fresh coffee, and repeatable recipe teach you more than a complicated ritual. This guide gives you a practical baseline for a V60, Kalita, Chemex, or similar paper-filter brewer, plus the adjustments to make when a cup is weak, sharp, or harsh.
Start With a 1:16 Pour Over Coffee Ratio
A coffee ratio describes how much water you use for a given weight of coffee. At 1:16, every 1 gram of coffee gets 16 grams of water. The number after the colon is water, not brewed coffee in the cup.
This is a useful middle ground. The Specialty Coffee Association’s brewing guidance uses 55 grams of coffee per litre of water, while its two-cup pour-over method uses 22 grams of coffee and 400 grams of water. Both show why weighing ingredients gives you a recipe you can repeat instead of relying on an inconsistent scoop.
| To brew | Coffee | Water at 1:16 |
|---|---|---|
| One cup | 15 g | 240 g |
| 12-ounce mug | 22 g | 350 g |
| Two cups | 25 g | 400 g |
| Small carafe | 30 g | 480 g |
Water weighs almost the same as its volume, so 240 grams is roughly 240 millilitres. The liquid in your mug will be less than the water you poured because the grounds and paper filter retain some water. That is normal, and it is why the scale measures water going into the brewer.
Choose Your Ratio Before You Change Everything Else
Ratio mainly changes the concentration of the finished coffee. If you want a fuller, more concentrated cup, use a little less water with the same amount of coffee. If you want a lighter cup, use a little more water. It is not a scorecard. It is a way to move the cup in the direction you enjoy.
| Ratio | 15 g coffee | What to expect |
|---|---|---|
| 1:15 | 225 g water | Fuller and more concentrated |
| 1:16 | 240 g water | Balanced starting point |
| 1:17 | 255 g water | Lighter and more delicate |
Keep the coffee dose steady while you test these ratios. If you change the ratio, grind, water temperature, pour pattern, and coffee all at once, the next cup cannot tell you what actually helped. A measured, one-variable approach is the fastest path to a recipe you trust.
There is no need to chase an exact number forever. Paper thickness, brewer shape, roast level, water, and personal taste all matter. The ratio is your starting line. Once you have a clean, balanced cup, you can explore without getting lost.
It also helps to separate strength from extraction. A 1:15 cup can taste stronger because it contains less water, while a very fine grind can make any ratio taste rough because the water pulled out too much. Start by using the ratio to set strength, then use grind and pouring pace to refine flavour. That simple division keeps troubleshooting much clearer.
What You Need for a Repeatable Cup
You do not need a cabinet full of gear. A pour-over dripper and matched paper filter, kettle, scale that reads grams, timer, and grinder are enough. A gooseneck kettle makes the stream easier to control, but it is optional. The scale and timer make the bigger difference because they let you repeat a good brew.
Start with fresh, clean-tasting water. Rinse the paper filter with hot water before brewing, then discard that rinse water. It warms the brewer and removes the papery flavour that can distract from the coffee.
For grind size, begin medium-fine, close to sand. A paper-filter pour over needs more resistance than a French press but should not drain like espresso. If you are unsure, the coffee grind size guide gives you a useful visual comparison across brewers.
Use the brewer and filter that match each other. A cone dripper, flat-bottom dripper, and thicker filter can all produce a delicious cup, but they do not drain at exactly the same speed. Do not force a recipe from one brewer onto another. Begin with the same ratio, then use the flavour and drawdown to make the smallest useful adjustment.
A Simple 15 g to 240 g Pour Over Recipe
This recipe uses the 1:16 starting ratio and works well for a single cup. The exact drawdown can vary with your dripper, paper, coffee, and grind. Treat timing as a clue, then let the taste make the final call.
- Heat and rinse. Bring water close to boiling. Place the filter in the dripper, rinse it generously, and empty the vessel.
- Measure and grind. Add 15 grams of whole beans, grind medium-fine, and level the coffee bed with a small shake.
- Bloom with 45 grams. Start the timer and pour just enough water to wet all the grounds. Give the brewer a gentle swirl, then wait 30 to 45 seconds.
- Pour to 150 grams. Add water slowly in small circles, starting in the centre and moving outward without washing the paper walls.
- Pour to 240 grams. Once the water level drops a little, finish the pour. A gentle swirl can settle the bed evenly.
- Let it drain and taste. Aim for a total brew near 2½ to 3½ minutes. When dripping slows to an occasional drop, remove the dripper and taste before adding milk or sweetener.
This cadence is deliberately simple. Hario’s published one-cup V60 technique uses 15 grams of coffee, 250 grams of water, a 45-second bloom, and a medium-fine grind. That close match makes either method a solid everyday baseline.
Pouring slowly is not the same as pouring timidly. Keep the water level comfortably above the grounds, use a calm stream, and give the coffee time to drain between pours. A dramatic spiral is not required. Even saturation is the thing that matters.
The bloom is worth protecting because dry coffee can repel water at first. Wetting the grounds evenly and pausing briefly helps the later pours move through the same coffee bed, rather than racing through dry patches. If your coffee is especially fresh and the bloom rises high, simply give it a little more room before the next pour. It is a sign to work calmly, not a problem to solve.
How to Adjust a Cup That Tastes Off
Before changing a recipe, name the problem as clearly as you can. “Not good” is real, but “thin and sharp” or “dry and harsh” points to a useful next move. Change one variable, brew again, and take a short note.
| If the cup tastes | Try first | Keep steady |
|---|---|---|
| Weak or watery | Move from 1:16 to 1:15 | Grind and pouring pace |
| Sharp or sour | Grind a little finer | Ratio and water amount |
| Dry or harsh | Grind a little coarser | Ratio and water amount |
| Flat or muted | Use fresher coffee or hotter water | Ratio and grind |
A finer grind slows the water and generally extracts more from the coffee. A coarser grind lets it flow faster. Small changes matter, so make one adjustment on your grinder rather than a large jump. If the brewer drains far faster than two minutes, go finer. If it stalls well past four minutes, go coarser and make sure you are not pouring directly against the filter wall.
Clean equipment matters too. Coffee oils can build up on a dripper, carafe, or kettle. A quick wash after use and a deeper clean when you notice a stale smell helps the next brew taste like the coffee rather than yesterday’s residue.
Water temperature is another useful lever, but it does not need to become the first thing you change. Water close to boiling is a practical starting point for most light and medium roasts. If a darker coffee tastes overly roasty or bitter even after you have checked the grind, let the water cool briefly and try again. Keep your note alongside the recipe so the improvement is easy to repeat.
Let the Coffee Guide the Recipe
Pour over is an excellent way to notice what is already in the coffee. A bright, fruit-forward bean may feel especially lively at 1:16 or 1:17. A deeper, chocolate-led coffee may feel satisfying at 1:15 or 1:16. Neither direction is better. The aim is to give the coffee enough structure that its flavour reads clearly.
Start with whole beans when you can, then grind just before brewing. It gives you control over particle size and protects more aroma until the moment water meets the coffee. If you are choosing between formats, the whole bean versus ground coffee guide can help you decide what fits your routine.

For a brighter, fruit-led pour over, 2 Kings Ethiopian coffee brings blueberry, lemon, and pear notes into focus. For a more familiar, balanced everyday cup, House Blend has chocolate-covered almond, maple syrup, and citrus notes that work beautifully in a paper-filter brew. Both are roasted after you order, so you begin with coffee made for the home brewer rather than an anonymous shelf date.
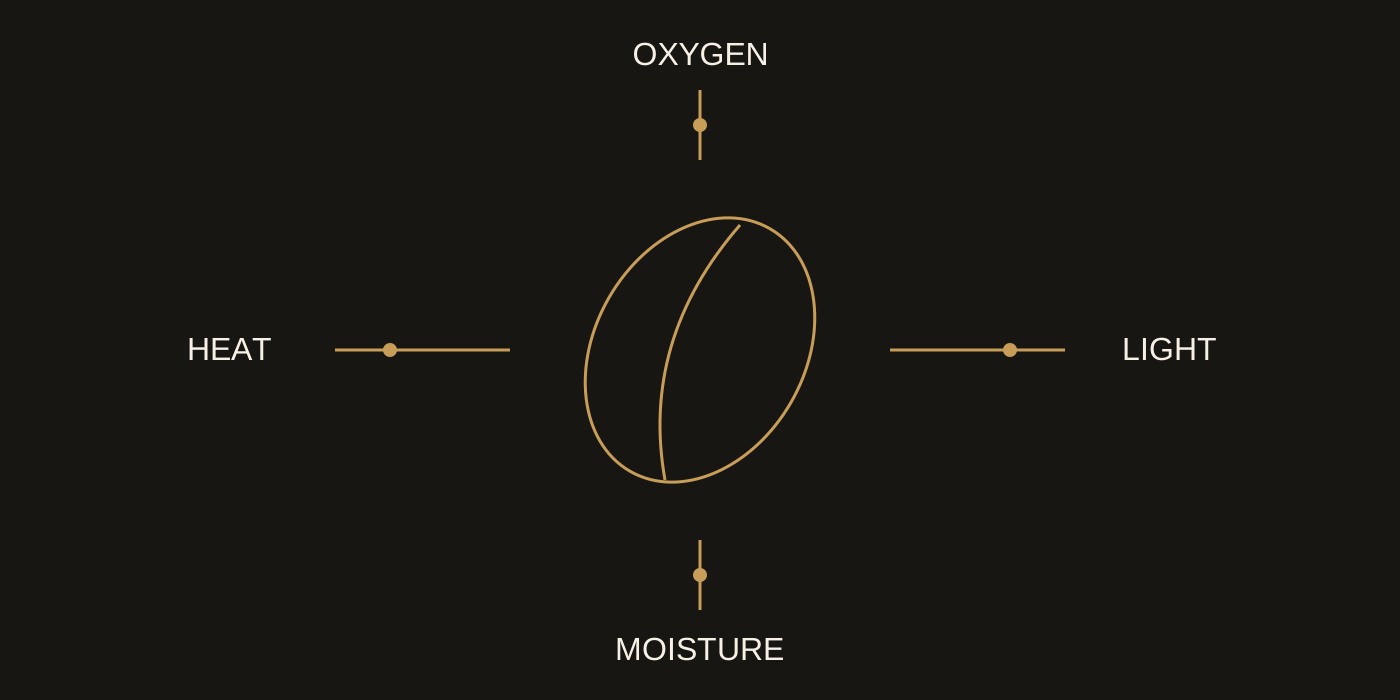
Keep beans in a cool, dry cupboard and buy an amount that suits your normal pace. Coffee does not become useless overnight, but its aroma and liveliness gradually change after roasting. The coffee freshness guide explains how air, moisture, heat, and light can affect the cup before you start brewing.
Keep a Recipe You Can Return To
Once a cup tastes right, write down five things: the coffee, dose, water weight, grinder setting, and total brew time. You do not need to record every movement of the kettle. A small note gives you a reliable starting point the next morning, then lets you make intentional changes when you open a different bag.
That record also makes coffee shopping easier. When you find a bag you enjoy at 1:16, you know whether the next experiment is about a different origin, a slightly stronger ratio, or a coarser grind. Instead of replacing a good routine every time you open a new coffee, you build on what you already learned.
A practical default is 15 grams of coffee, 240 grams of water, a medium-fine grind, a 30 to 45 second bloom, and a gentle pour that finishes around three minutes. Keep it simple until you know what you want to adjust. A good pour over should feel like a repeatable part of the morning, not a chemistry exam.
When you are ready to explore further, use the same scale-and-taste approach with the French press ratio, cold brew ratio, or the broader coffee measurement guide. Each method changes the texture and routine, but a thoughtful ratio always gives you a better place to begin.